Before the actual steps, I want to say a special thank to author of Spatacoli blog. This tutorial can’t be there without this awesome article: Custom WSL Image – Spatacoli
The article above is licensed under Attribution-NonCommercial-ShareAlike 4.0 International (CC BY-NC-SA 4.0)
Prepare environment:
In this tutorial im using 2 different machine:
Parrot to create image from docker and Windows to create wsl. Create image from Parrot or any Linux distro is not required. Docker is required to create image
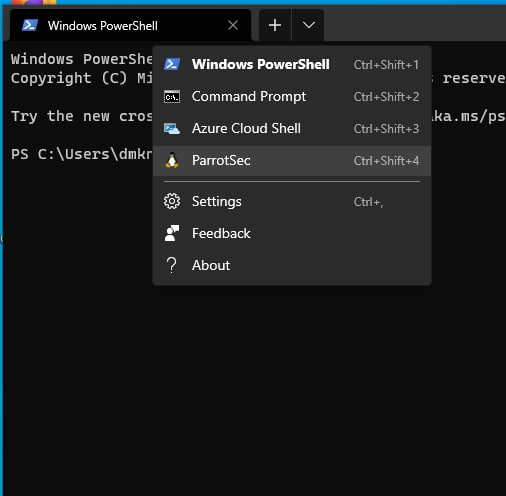
Windows for the WSL (ofc). User MUST have WSL version 2 and I strongly recommend user to install Windows Terminal
Overview
I. Create wsl image from docker
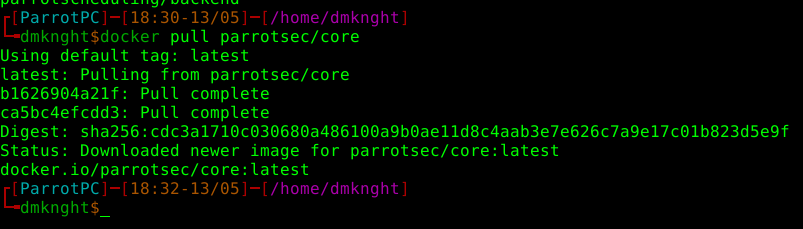
Pull latest docker image
Export compressed file from docker image
II. Create wsl system
Transfer image to Windows
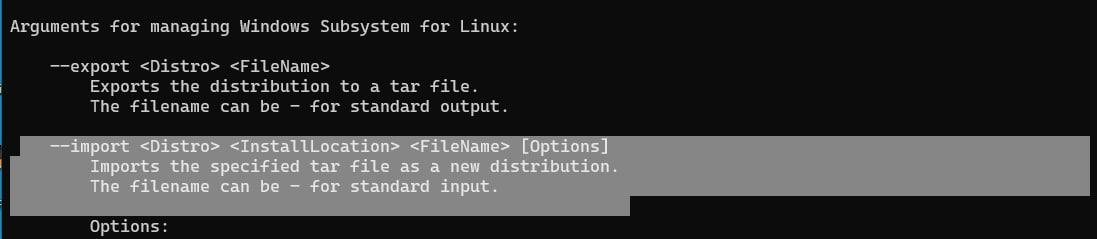
Import image
Customize
Steps
I. On Parrot (install docker by sudo apt install docker.io)
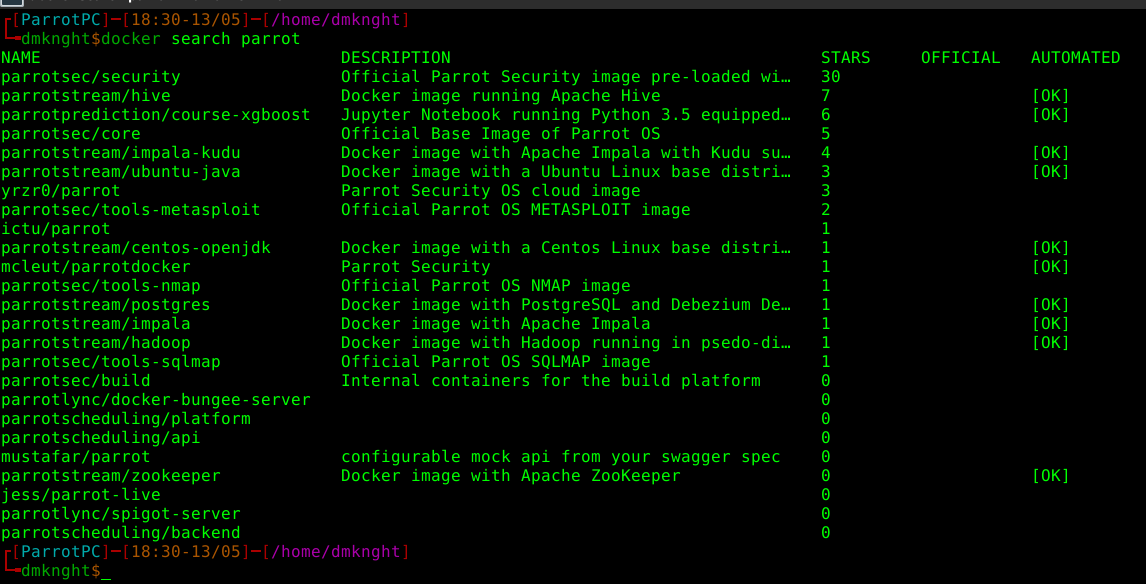
1.Search parrot image on docker. In this example I’ll use “parrotsec/core”
command: docker search parrot
(note: the extension is tar. I typed .tar.gz by mistake). I renamed the file to “parrotsec.tar” after this export command. The file name is not important thing and won’t make any differences
Hey @dmknght , your code to import doesn’t quite work, at least not for me. What did work was this: wsl --import ParrotSec D:\ParrotSec C:\Users\<username>\Downloads\parrotsec.tar
The structure of import command is wsl --import <distritubtion name> <save path> <import file> and i have no idea why the fuck it had god damn () and [] on this article. Must be something when i copied from libre.
This method works but there is no gui and no systemd.
There is a better way to import ParrotOS into WSL by using the iso.
Download the latest image and extract using 7zip:
7z x ParrotOS.iso
cd into live and mount the filesystem.squash image as ro, where $ROOTFS_DIR is your chosen dir.
mount -o ro live/filesystem.squashfs $ROOTFS_DIR;
Create tar.gz archive
tar -zcvf distro.tar.gz $ROOTFS_DIR/.
Once it is completed, you only need to import it into wsl:
Make sure to add your user with adduser rather than useradd to get the full-color terminal
Last but not least:
Open regedit and navigate to Computer\HKEY_CURRENT_USER\SOFTWARE\Microsoft\Windows\CurrentVersion\Lxss\$DISTRO_GUID Ensure the following values are set
To be perfectly honest, the aforementioned method is a bit sloppy and I noticed some functions are not working all that great.
So I went ahead and downloaded the ParrotOS live image and used VMware to create a virtual machine. I also made sure to ask VMware to keep the disk data (.vmdk) in one file.
Mounting it under Windows does not allow you to access the virtual drive, yet you can always leverage another WSL distro and guestmount to get things going:
sudo guestmount -a ParrotOS.vmdk -i --ro /mnt/vmdk
This would mount the virtual drive in /mnt where you can then archive everything into a tar.gz:
cd /mnt/vmdk/ && tar -zcvf Parrot.tar.gz .*
After you’re done, should just be a matter of importing into WSL.